Artwork & Design Guide
Whether you're booking your first campaign or hosting your first screen, tell us a bit about what you need.
Follow these steps to prepare artwork that prints correctly, the first time.
01 Know your canvas
Always design to the full canvas, never the visible size.
- 6 ft × 3.2 ft Visible area
- 76″ × 42.4″ Final artwork canvas
- 2.0″ Perimeter Wrap bleed
- 300 DPI · CMYK Resolution & color
Keep all important text, logos & key elements inside the 68″ × 34.4″ safe area.
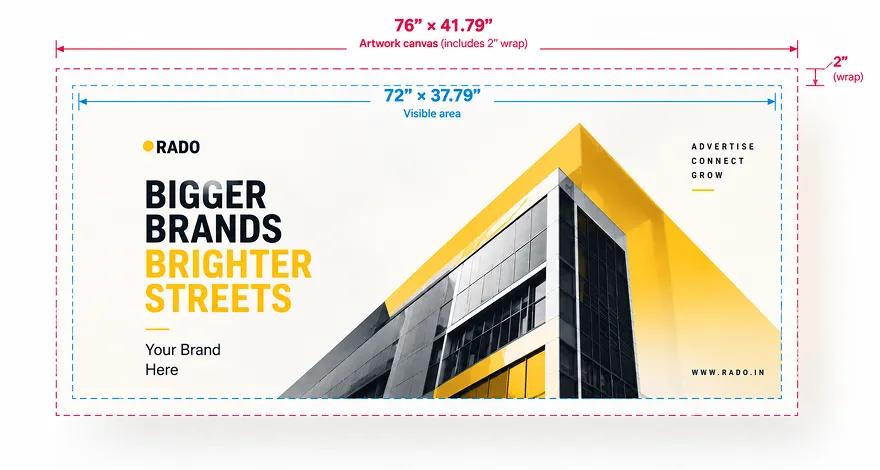
02 Design inside the safe area
Keep logos and text inside the 68″ × 34.4″ safe zone. Extend background color to the full canvas edge so no white shows after mounting.
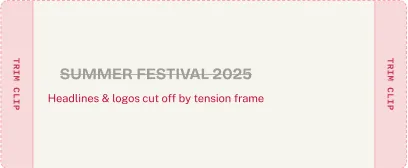
Mounting rails swallow outer copy and leave raw exposed unprinted vinyl.
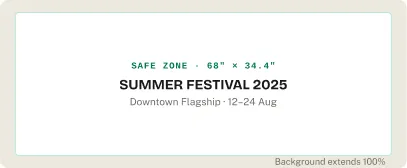
Full wrap margins ensure flawless storefront presentation at eye level.
03 Prepare your files
Send a print-ready PDF/X-1a or TIFF, 300 DPI, CMYK. Include your original layered file (AI/PSD) if you have it.
- Submit a Print-ready PDF/X-1a or TIFF @ 300 DPI in CMYK color mode
- Packaged source file (AI or PSD) included with linked images embedded
04 What happens after you submit
-
01
Submit artwork
Upload final print files and packaged source assets.
-
02
RADO production check
We verify dimensions, color profiles, and bleed tolerances.
-
03
Print & produce
Artwork is printed at 300 DPI CMYK and dispatched for mounting.
RADO manages pre-press engineering, printing, and storefront deployment; you are responsible for providing artwork that follows these specifications.
05 Avoid these common mistakes
-
01 Wrong artwork size
Designing to 6 × 3.2 ft instead of the full 76″ × 42.4″ canvas.
-
02 Unconverted live typography
Live text instead of outlined/vector paths.
-
03 Low-resolution bitmap assets
Web-resolution images (72 DPI) instead of vector or 300 DPI.
-
04 Content outside safe boundaries
Logos or text placed outside the 68″ × 34.4″ safe zone.
Ready to submit your Flex artwork?
Upload your production-ready file and we'll take it from there.
Upload Artwork